If you want to learn how to tint car windows, this guide will take you through every step. Window tinting not only adds a cool look to your vehicle but also literally keeps the interior of your car cool, enchances the comfort of driving and protects your privacy. Let’s begin.

Why should you tint your car windows?
Window tinting offers various benefits, such as protection against harmful UV rays, preventing the interior of the car from damaging due to overheating, and ensuring a good looking car on the road. Moreover, it enhances the overall appearance of your vehicle. There is also an underrated aspect of safety – when a tinted window breaks, the foil can keep the glass from shattering and potentially hurting the passangers inside.
Preparing to tint your windows
Before diving into the process, it’s essential to:
- ❗Familiarize yourself with your country’s laws❗:
This is a very important step, because if you don’t have a road-legal tint, for example with too low light visual transmission, you can risk a high fine or even have your registration certificate revoked. Regulations vary, and understanding them prevents potential legal troubles. It’s always better to follow the law regarding car modifications. We strongly advise not going above the legal tint limit. - Decide on the Type of Tint:
There are different types of window tint films with different colors and different levels of light visual transmission, each with its own benefits. Research and decide which suits your needs or your taste best. - Gather Necessary Supplies:
This includes a glass cleaner, window tint film, squeegee, tint gel, razor blade, heat gun, and some microfiber cloths.

Learning how to tint your windows
Step 1: Clean the window thoroughly
Before applying tint, it’s crucial to have a spotless car window. Spray the inside of the window with a glass cleaner and then use a squeegee to remove any dirt or residues. For stubborn spots, a razor blade can be gently used. Make sure the entire window, especially the edges of your window, is clean. We recommend using our specialized BadBoys Glass Cleaner Foam for cleaning the windows.
You can buy it in our store:
https://shop.rrcustoms.com/product-eng-58-Glass-Cleaner-Foam.html?query_id=1
Check out our guide on how to clean car windows:
https://rrcustoms.com/how-to-clean-car-windows-detailing-guide-for-beginners-tutorial/
Step 2: Measure and Cut the Tinting Film
Place the window tint film on the outside of your window. Leave a few inches of extra tint on the bottom and left edges. Using a razor, cut the tinting film to size, ensuring enough tint to cover the whole window.
Step 3: Spray the Window
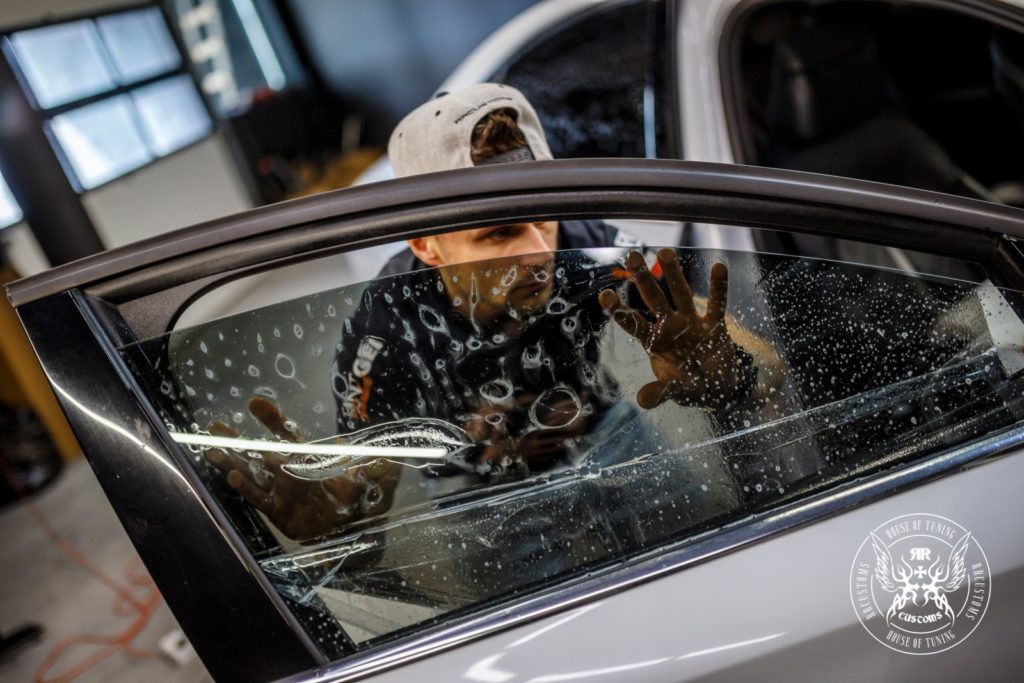
Using a large spray bottle, spray tint gel on the inside of the window, ensuring it’s wet. The tint gel acts as an application solution, making it easier to adjust the tint.
You can get our BadBoys Tint Gel here:
https://shop.rrcustoms.com/product-eng-2006-BadBoys-Tint-Gel-500ml.html?query_id=2
Step 4: Apply the Tint
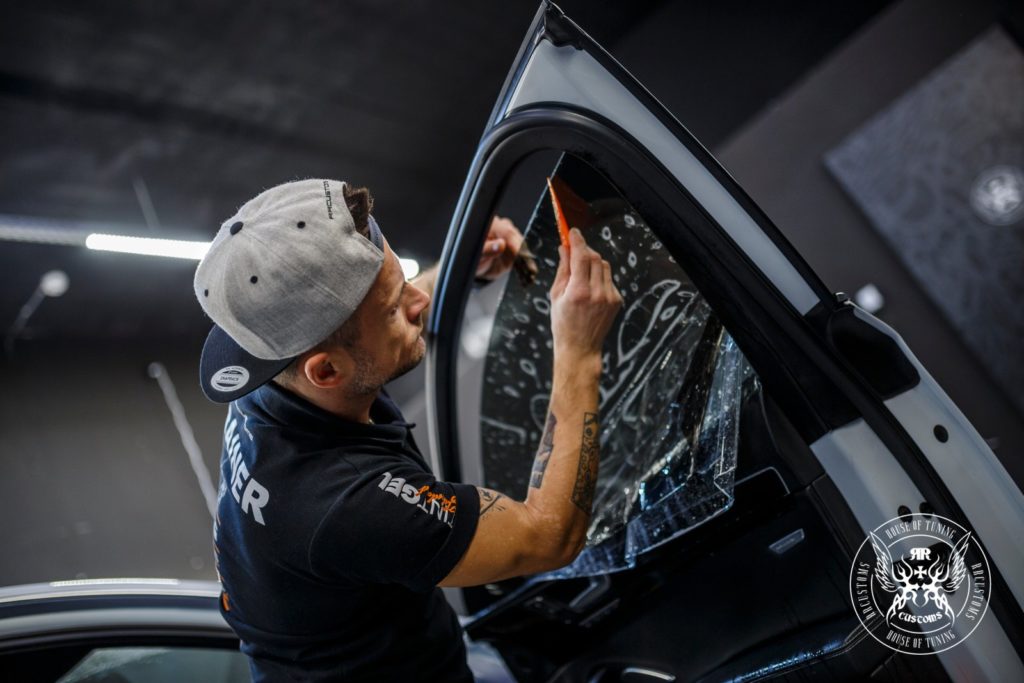
Carefully peel off the adhesive side of the tint. Spray the adhesive side with the tint gel. Position the adhesive side of the tint onto the inside of the car window. Start from the top, then use a squeegee to press the tint down, eliminating bubbles in the film.
Step 5: Trim the Film
With the window slightly rolled down, trim any excess film around the window using a razor blade, especially focusing on the left edges of the window and the bottom.
Step 6: Secure the Tint
Roll the window back up. Using a heat gun, gently heat the tinted window to make sure the adhesive sets. Avoid overheating, which can damage the tint. Go over the entire window with a squeegee to ensure there are no bubbles and that the tint adheres uniformly.
Step 7: Let it Cure
After applying tint, it’s advisable ❗not to roll the windows down for a few days❗. This allows the tint to work its magic and set properly.

Essential Tips for a Perfect Tint Job
- Patience is Key:
Tinting your car windows takes time. Ensure you’re patient, especially when removing bubbles in the film. - Practice Makes Perfect:
Consider practicing on smaller windows at home before tinting your vehicle’s windows. - Understand Your Tint:
Different types of tint have varying levels of visible light they allow through. Ensure the one you choose aligns with your goals. - Check for Bubbles:
After a day or two, inspect your windows for tint bubbles. Use a squeegee to smooth them out. - Avoid Cleaning Right Away:
Allow the tint to set for a few days before cleaning the interior of the car windows. - Always Consult Your Country’s Laws:
Before adding window tint to your vehicle, ensure it’s compliant with local regulations to avoid legal repercussions. - Professional Help:
If you aren’t sure about tinting your windows yourself, go to a professional. Remember, that tinting windows may be a difficult process to learn and to do it yourself. It’s okay to leave it to a professional.
